Hey there! Have you ever had one of those moments when you’re craving something sweet and creamy, but you want to keep it totally plant-based? I know the feeling. I used to miss the rich, silky goodness of condensed milk in my favourite desserts and drinks until I discovered how simple it is to make a vegan version at home. And let me tell you, once you make your vegan condensed milk, you’ll never want to go back to store-bought options again.
In this post, I’ll walk you through the process of making vegan condensed milk step-by-step and share a few personal tips and tricks I’ve learned along the way. Trust me, it’s easier than you might think, and the results are seriously delicious.
What is Vegan Condensed Milk?
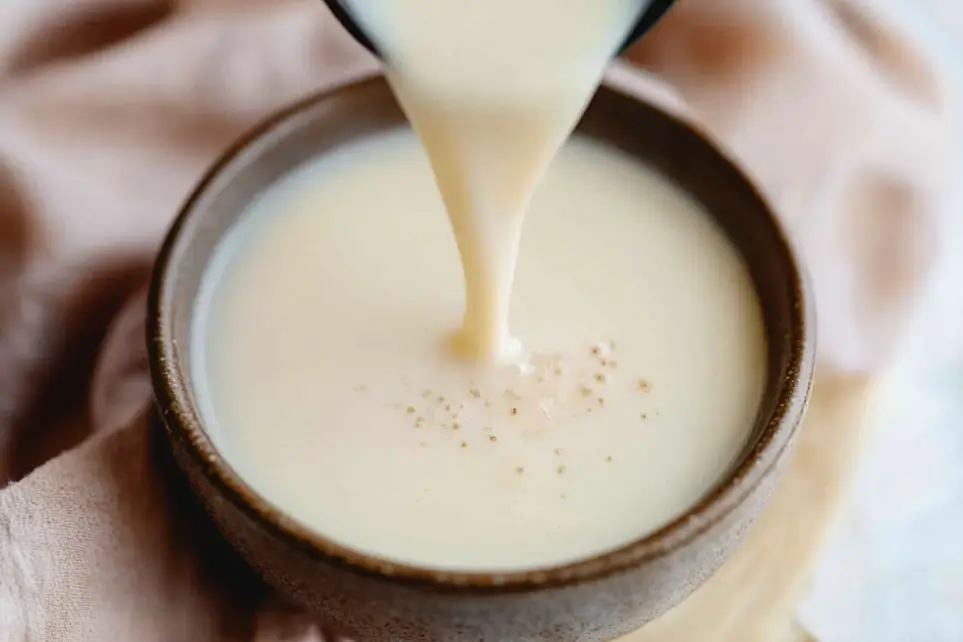
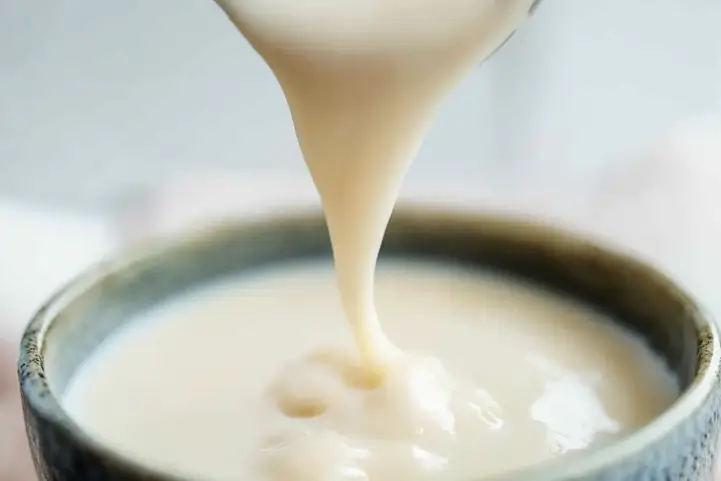
So, what exactly is vegan condensed milk? Simply put, it’s a plant-based alternative to traditional condensed milk, which is usually made with cow’s milk and sugar. This vegan version has the same thick, sweet, and syrupy texture that makes it perfect for baking, desserts, and even beverages.
How It Differs from Traditional Condensed Milk
This version is entirely dairy-free, making it a great alternative to regular condensed milk!
Instead, you’ll use plant-based milk like coconut, soy, or almond milk. When combined with a sweetener, it creates a creamy consistency that’s just as indulgent as the original—without any animal products.
Popular Uses in Recipes
I love using vegan condensed milk in so many ways:
- Baking: It adds moisture and sweetness to vegan cakes, cookies, and brownies.
- Desserts: Perfect for making dairy-free fudge, caramel, and even homemade ice cream.
- Beverages: A little spoonful in your coffee or Thai iced tea is a total game-changer.
Benefits of Using Vegan Condensed Milk
There are a bunch of reasons why you might want to make the switch to vegan condensed milk:
- Lactose-Free: If you’re lactose intolerant like some of my friends, this is a lifesaver.
- Dairy-Free: Great for anyone following a vegan or plant-based diet.
- Healthier Options: Depending on the plant-based milk you choose, you can cut down on fat and calories.
Ingredients Needed for Vegan Condensed Milk
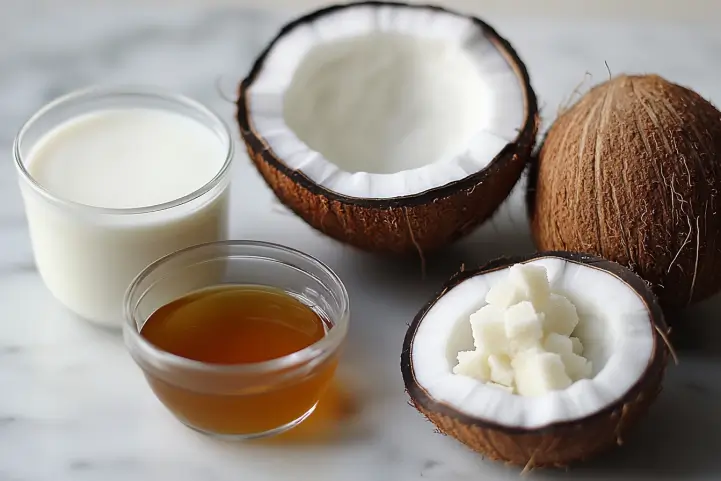
The best part about this recipe? You only need a handful of simple ingredients—many of which you probably already have in your pantry.
Main Ingredient Options
Here are some of my go-to choices for plant-based milk:
- Coconut Milk is my personal favourite because it has a rich and creamy texture. To get the best flavour and texture, go with full-fat coconut milk.
- Soy Milk: If you prefer a more neutral flavour, soy milk is a great option.
- Almond Milk has a light, nutty flavour, but it might result in a slightly thinner consistency.
Sweeteners
- Cane Sugar: This is the classic option that gives you that traditional condensed milk sweetness.
- Maple Syrup: I love using maple syrup for its rich flavour.
- Agave Nectar: If you want a lower-glycemic option, agave nectar works well.
Optional Flavoring
- Vanilla Extract: A splash of vanilla adds an extra depth of flavour.
- Pinch of Salt: It might sound strange, but a tiny pinch of salt actually enhances the sweetness.

Tips for Choosing Ingredients
One thing I’ve learned is that using high-quality, unsweetened, plant-based milk makes a big difference. Also, if you’re aiming for that thick and creamy texture, go for full-fat options.
Step-by-Step Guide to Making Vegan Condensed Milk
Now, let’s get to the fun part—making your vegan condensed milk. It’s super simple, and once you do it, you’ll wonder why you didn’t try it sooner.
Simmer the Milk
Start by pouring 2 cups of your chosen plant-based milk into a saucepan. Place it over medium heat and allow it to reach a gentle simmer gradually. Take your time with this step—slow heating is key!
Add the Sweetener
Once the milk is simmering, add ¾ cup of your preferred sweetener (I usually use cane sugar or maple syrup). Stir it well to ensure the sweetener dissolves completely.
Thicken the Mixture
Reduce the heat to low and let it simmer gently for 30-40 minutes. Stir it now and then to prevent the milk from sticking to the bottom of the pan. You’ll notice it gradually thickening as it reduces.
Cool and Store
Once it’s thickened to your liking, could you remove it from the heat and let it cool? I usually transfer it to a glass jar and pop it in the fridge. It’ll keep for up to a week, but honestly, mine never lasts that long!
Tips for Perfect Vegan Condensed Milk
Over the years, I’ve picked up a few tips and tricks that really help:
Use Full-Fat Milk for Creaminess
Trust me on this one—if you want that rich, decadent texture, full-fat plant-based milk is the way to go.
Stir Continuously
Keep stirring regularly to avoid burning and to help it thicken evenly. I learned this the hard way after my first batch burned slightly!
Avoid Boiling
Keep the heat low and steady. Boiling can cause the mixture to separate or become grainy, and nobody wants that.
Adjust Sweetness to Taste
You can easily adjust the sweetener to suit your taste. If you prefer things less sweet, start with half the recommended amount and add more as needed.
How to Use Vegan Condensed Milk in Recipes
Now that you have your homemade vegan condensed milk, the possibilities are endless. Here are some of my top ways to enjoy it:
Baking
- Add it to vegan cakes and brownies for extra moisture and sweetness.
- Use it in cookie dough for a soft, chewy texture.
Desserts
- Drizzle it over vegan ice cream or fruit for an indulgent treat.
- Use it to make dairy-free fudge or caramel—so good!
Beverages
- Stir it into your coffee for a creamy, sweet boost.
- Add it to Thai iced tea or homemade hot chocolate. Trust me, it’s a game-changer.
Toppings
- Drizzle over pancakes, waffles, or oatmeal.
- Use it as a topping for dairy-free yoghurt or chia pudding.

FAQ Section For Vegan Condensed Milk
What plant-based milk is best for vegan condensed milk?
Coconut milk is my go-to for a rich, creamy texture, but soy and almond milk work well too.
How long does homemade vegan condensed milk last?
It usually keeps for up to 7 days in the fridge—but good luck making it last that long!
Can I use a sugar-free sweetener in this recipe?
Yes, you can. I’ve tried using stevia and erythritol, and while the flavor is slightly different, it works fine.
Why isn’t my vegan condensed milk thickening?
If it’s not thickening, give it more time to simmer. Just keep stirring and be patient—it’ll get there.
Conclusion For Vegan Condensed Milk
There you have it! Making vegan condensed milk at home is so simple, and once you try it, you’ll wonder why you ever bought the canned stuff. It’s perfect for baking, desserts, and even your morning coffee.
Try it out and share how it goes! I’d love to hear about the creative ways you use your homemade vegan condensed milk. If you found this guide useful, don’t hesitate to share it with your friends!

Vegan Condensed Milk
Ingredients
- 2 cups full-fat coconut milk or soy/almond milk for a lighter version
- ¾ cup cane sugar or maple syrup/agave nectar for a refined sugar-free option
- 1 teaspoon vanilla extract optional, for added flavor
- Pinch of salt optional, to balance sweetness
Instructions
- In a medium saucepan, pour the 2 cups of your chosen plant-based milk. Set the heat to medium and bring it to a gentle simmer. Avoid boiling.
- Once the milk is simmering, stir in ¾ cup of cane sugar or your preferred sweetener.
- Mix thoroughly until the sweetener has completely dissolved.
- Lower the heat to a gentle simmer and cook for 30-40 minutes, stirring occasionally. The mixture will gradually thicken and reduce by about half.
- If using vanilla extract and a pinch of salt, stir them in during the last 5 minutes of cooking.
- Remove the saucepan from the heat and let the condensed milk cool for a few minutes.
- Pour it into an airtight jar or container and keep it in the refrigerator. It will thicken further as it cools.
Notes
Sweetness Adjustment: You can reduce the sweetener slightly if you prefer a less sweet condensed milk.
Storage: Refrigerate for up to 7 days. Stir well before using, as it may separate slightly when chilled.
Uses: Great for baking, making vegan fudge, or adding to coffee and tea for a creamy, sweet flavor.