Picture this: You’re in your kitchen, the aroma of sweet, buttery caramel filling the air. You’re about to drizzle that golden goodness over a warm slice of vegan chocolate cake or a bowl of dairy-free ice cream. Trust me, there’s nothing quite like it. And guess what? You don’t need dairy to make this indulgent treat. I’ve made it myself countless times, and it’s always a hit. Let me share my secrets to crafting the best vegan caramel, step by step.
What Makes Vegan Caramel Special?
If you’re new to vegan caramel, let me tell you why it’s so special. Unlike traditional caramel, this version is entirely plant-based, but you won’t miss the dairy. It’s rich, creamy, and perfectly sweet—the kind of treat you’ll want to eat straight off the spoon (not that I’ve done that… okay, maybe once or twice).
- A healthier twist: I’ve found that natural ingredients like coconut milk and maple syrup make the caramel feel lighter yet just as indulgent.
- Diet-friendly options: Whether vegan, lactose-intolerant, or just trying to cut back on dairy, this caramel is a lifesaver. It’s a dessert everyone can enjoy.
- Versatile uses: I’ve drizzled it on everything from pancakes to popcorn, and it never disappoints.
- Accessible and easy to make: No fancy gadgets or hard-to-find ingredients here. If I can make it on a lazy Sunday afternoon, you can too.
The best part about vegan caramel is the joy of sharing it. Every time I bring a jar to a potluck or a friend’s house, it disappears in minutes.
Essential Ingredients for Vegan Caramel
When I first started making vegan caramel, I was surprised by the simple ingredients. Here’s what you’ll need:
- Plant-based milk: Coconut milk is my go-to. It’s rich and creamy, giving the caramel that luxurious texture. Almond milk and cashew cream also work well if you want a lighter option.
- Sweeteners: I usually use coconut sugar or maple syrup because they add a deep, caramel-like flavour. Brown sugar is another great option if that’s what you have on hand.
- Fats: Plant-based butter or coconut oil is essential for that glossy finish. It’s what makes the caramel feel indulgent.
- Flavour enhancers: A splash of vanilla extract and a pinch of sea salt are game-changers. They take the flavour to the next level.
These ingredients are staples in my kitchen, so whipping up a batch of caramel is never more than a few steps away.
Step-by-Step Guide to Making Vegan Caramel
This is the fun part! Making vegan caramel is surprisingly easy. Let’s get started:
Step 1: Gather Your Ingredients and Tools
Here’s what you’ll need:
- 1 can of full-fat coconut milk (or 1 cup of your favourite plant-based milk)
- ¾ cup of coconut sugar or brown sugar
- 2 tablespoons of plant-based butter or coconut oil
- 1 teaspoon of vanilla extract
- A pinch of sea salt
Grab a heavy-bottomed saucepan, a whisk, and a jar for storage. Getting everything prepared ahead of time makes things so much easier!
Step 2: Combine Ingredients
Add your coconut milk, sugar, and butter to the saucepan. Place it over medium heat and start whisking. Watching the sugar dissolve into the milk is so satisfying.
Step 3: Simmer and Stir
Warm the mixture until it bubbles softly, then turn down the heat and let it gently simmer. Stir it occasionally and let it work for 15-20 minutes. This is when the caramel thickens and transforms into that gorgeous amber colour. I love watching this part—it feels like alchemy.
Step 4: Add Flavorings
Once it’s thick and luscious, remove it from the heat. Mix in the vanilla extract and a pinch of sea salt. Feel free to taste and adjust; sometimes, I add a little extra salt for that sweet-and-savory balance.
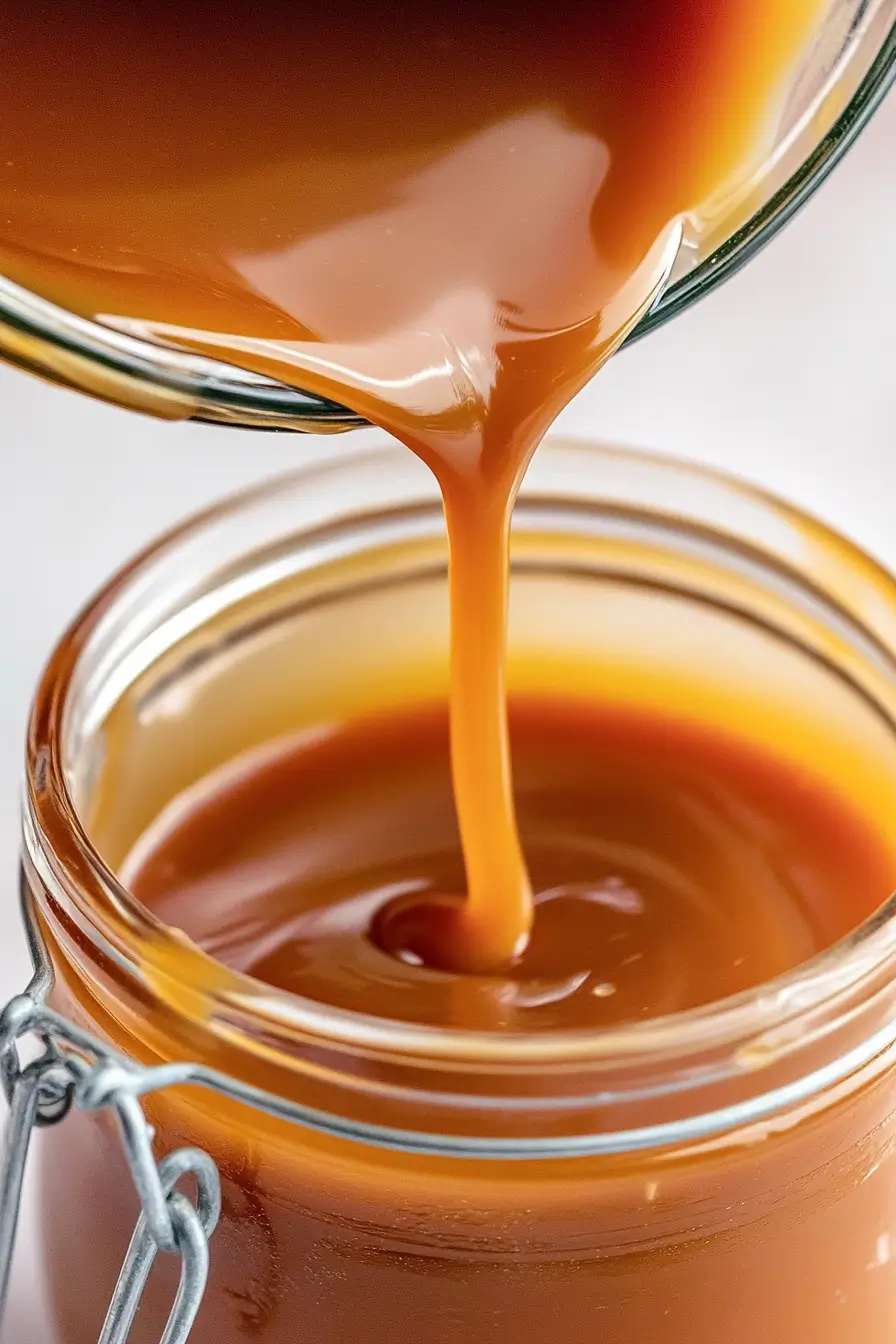
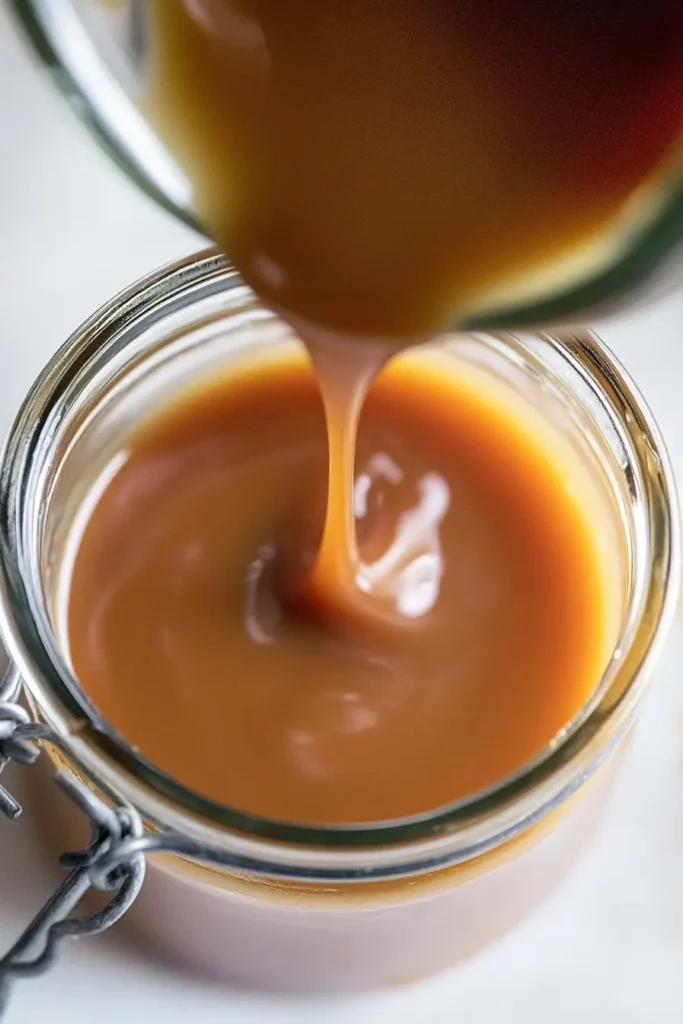
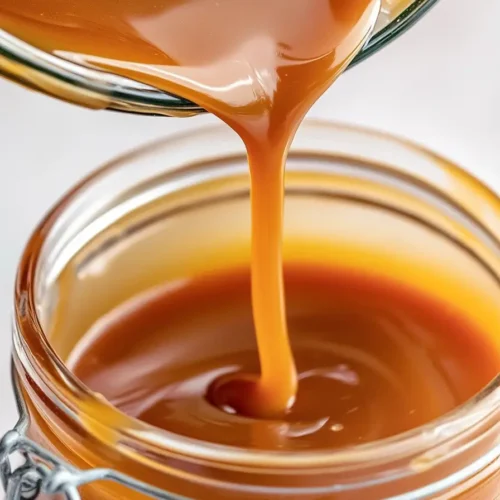
Step 5: Cool and Store
Let the caramel cool for a bit before transferring it to a jar. It thickens even more as it cools, so don’t worry if it seems a bit runny at first. Store it in the fridge, and it’ll keep for up to two weeks… if you don’t eat it all by then!
Tips for Perfect Vegan Caramel Every Time
Over the years, I’ve picked up a few tricks to ensure my caramel turns out perfectly every time. Here are my top tips:
- Prevent burning: Use a heavy-bottomed saucepan. Trust me, it’s worth it to avoid burnt sugar.
- Control the consistency: If your caramel turns out too thick, stir in a tablespoon of plant-based milk while it’s still warm. It’s an easy fix.
- Be patient: Don’t rush the process. Letting the caramel simmer helps develop that deep, rich flavour.
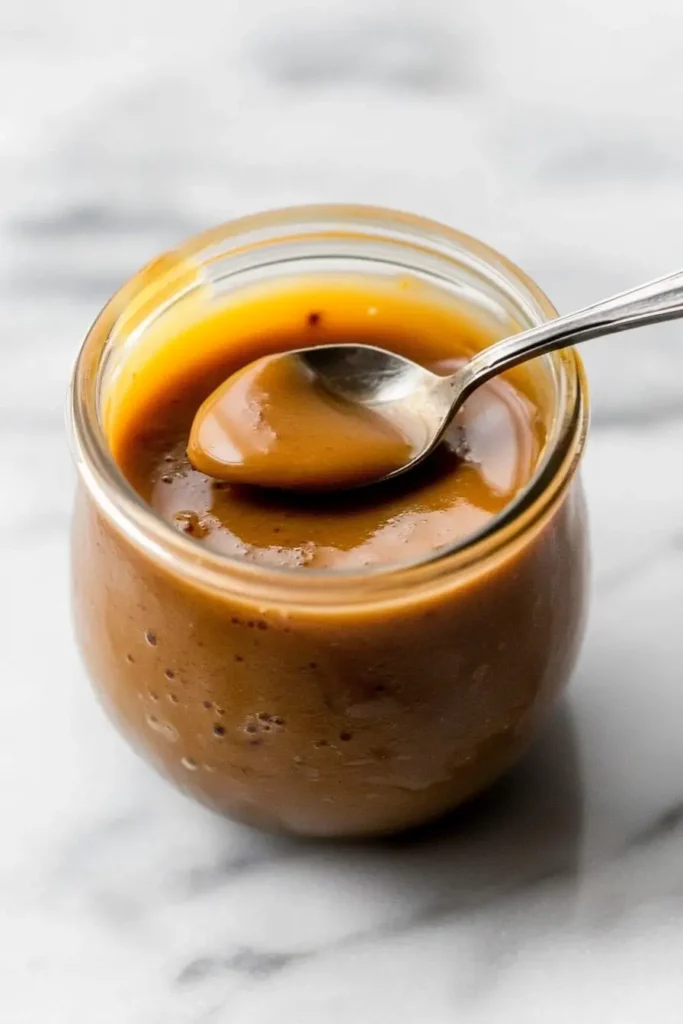
- Store it right: Always use an airtight container to keep your caramel fresh. When ready to use it, warm it gently to restore its silky texture.
Making caramel can feel intimidating at first, but once you’ve done it a couple of times, it’ll become second nature.
Creative Ways to Use Vegan Caramel
One of the best things about vegan caramel is how versatile it is. These are some of my favourite ways to use it:
- Drizzle it over vegan ice cream, pancakes, waffles, or oatmeal as a topping. It instantly elevates any dish.
- Use it in cakes, tarts, or cookie sandwiches as a filling. I once made caramel-filled cupcakes, and they were a hit.
- Pair it with sliced apples, bananas, or strawberries as a dip. It’s a quick, healthy snack that feels like a treat.
- In popcorn: Toss it with freshly popped corn and a sprinkle of sea salt for homemade caramel popcorn. It’s my go-to for movie nights.
Honestly, the possibilities are endless. Once you start experimenting, you’ll always find new ways to use it.
FAQ Section About Vegan Caramel
Can I use any plant-based milk for vegan caramel?
Yes, but I recommend coconut milk for the creamiest results. Almond or soy milk works, too, but the consistency might be a bit thinner.
How long does vegan caramel last in the fridge?
If stored in an airtight container, it lasts up to two weeks. Just warm it up gently if it thickens too much.
Why did my caramel turn grainy?
Graininess happens when the sugar doesn’t dissolve completely. Stirring continuously and using low heat helps prevent this.
Is vegan caramel healthier than traditional caramel?
It can be! Vegan caramel often uses natural sweeteners and skips the heavy cream, making it a slightly better-for-you option. But, like all treats, enjoy it in moderation.
Conclusion: Vegan Caramel
So, there you have it—my tried-and-true method for making the best vegan caramel. I hope you’re feeling inspired to give it a go. Trust me, once you’ve tasted homemade vegan caramel, there’s no going back. It’s a small act of love you can whip up for yourself or share with others.
I’d love to hear how it turns out if you give this recipe a try! I’d love to hear about your caramel adventures. And hey, don’t forget to tag me in your creations—I can’t wait to see what you make.
Vegan Caramel
Ingredients
- 1 can 13.5 oz full-fat coconut milk
- ¾ cup coconut sugar or brown sugar
- 2 tablespoons plant-based butter or coconut oil
- 1 teaspoon vanilla extract
- A pinch of sea salt
Instructions
- Gather all ingredients and tools, including a heavy-bottomed saucepan, whisk, and storage jar.
- Add the coconut milk, sugar, and plant-based butter or coconut oil to the saucepan. Gently stir over medium heat until the sugar fully melts and blends seamlessly.
- Lower the heat to a gentle simmer and allow the mixture to cook slowly.
- Stir occasionally for 15-20 minutes until it thickens and turns a deep amber color.
- Remove the saucepan from the heat and stir in vanilla extract and a pinch of sea salt. Taste and adjust as needed.
- Allow the caramel to cool down a bit before pouring it into a jar for storage. It will thicken further as it cools. Keep it refrigerated and use within two weeks for the best freshness.
Notes
- For a lighter caramel, use almond or soy milk instead of coconut milk.
- If the caramel thickens too much in the fridge, warm it gently and stir to restore its texture.
- Adjust the sweetness by using less sugar or a different sweetener like maple syrup.