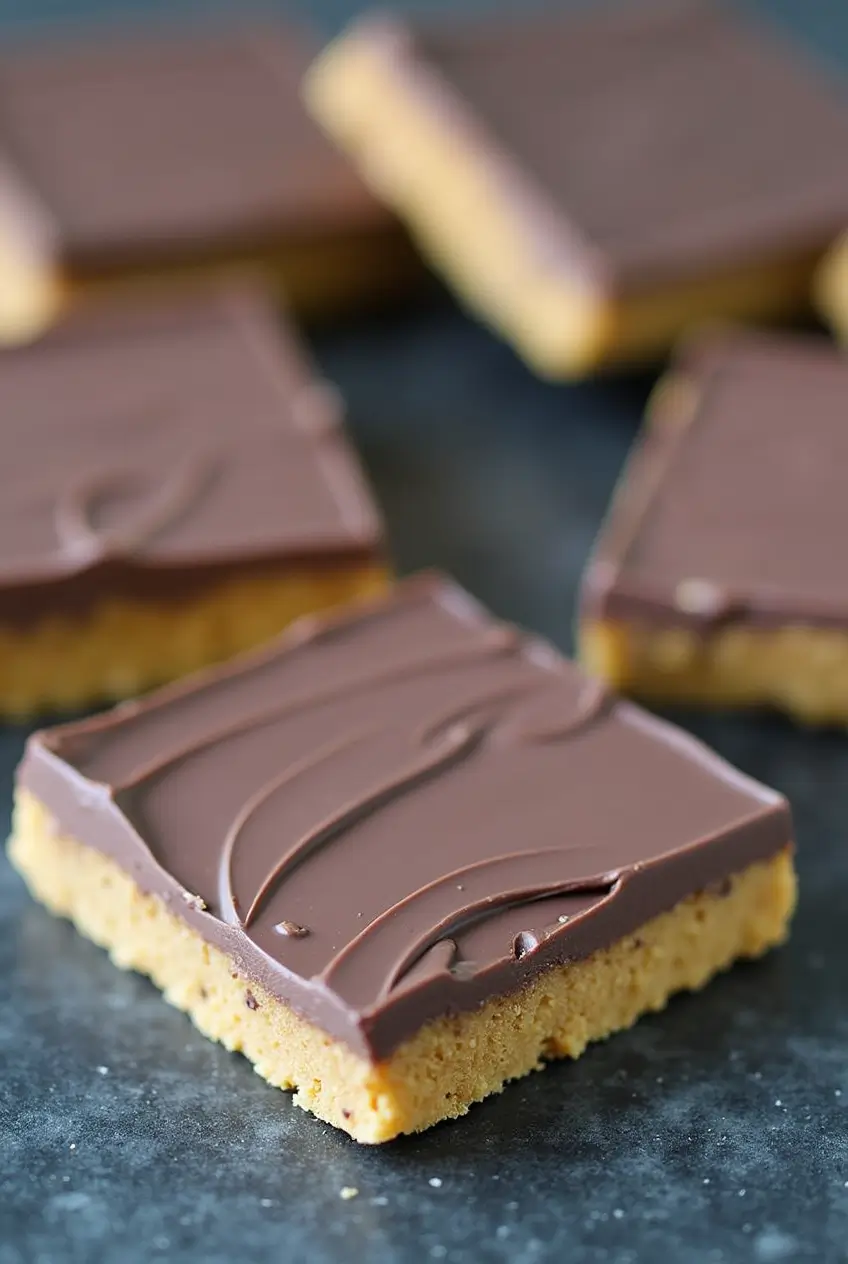
Who can resist the classic pairing of chocolate and peanut butter?
I know I do! These two flavors create a match made in dessert heaven, and when paired in a vegan-friendly recipe, they become even more irresistible. I remember the first time I made these bars—I was craving something sweet but didn’t want to spend hours in the kitchen. That’s when I thought, why not combine my favorite ingredients and make something simple yet delicious? Trust me, once you sink your teeth into these rich, vegan chocolate peanut butter bars, you’ll be hooked just like I was. Whether you’re looking for a quick snack, an after-dinner indulgence, or a make-ahead treat, this recipe is perfect for any occasion.
I’ll walk you through the entire process, share some tips I’ve learned along the way, and give you ideas to customize the bars to your liking. By the end, you’ll have a go-to recipe that you can whip up whenever a sweet craving strikes. Let’s dive in!
Ingredients Needed for Vegan Chocolate Peanut Butter Bars
Here’s what you’ll need to make these mouthwatering bars. I like to keep things simple, so most of these ingredients are probably already in your pantry.
Chocolate
I usually go for high-quality vegan dark chocolate or chocolate chips. The higher the quality of the chocolate, the deeper and more delicious the flavor you’ll enjoy.
Peanut Butter
Natural, creamy peanut butter works best. I prefer using one with no added sugar or oil—it keeps the flavor pure and the texture perfect.
Sweetener
Maple syrup is my sweetener of choice. It brings the perfect touch of sweetness without ever feeling too much. Agave syrup works too if that’s what you have on hand.
Oats and Coconut Oil
Oats give the base a nice texture, and coconut oil helps everything bind together. If you follow a gluten-free diet, be sure to choose oats that are certified gluten-free.
Vanilla Extract
A splash of vanilla extract adds a lovely depth to the peanut butter layer.
Optional Add-ins:
- Sometimes, I like to toss in some chopped nuts for extra crunch.
- Shredded coconut is another great addition if you’re a fan of that tropical twist.
- A sprinkle of sea salt on top takes these bars to the next level.
How to Make Vegan Chocolate Peanut Butter Bars
I promise this recipe is super easy, even if you’re new to making homemade treats. Here’s how I do it:
Step 1: Prepare the Base Layer
In a large mixing bowl, combine the oats, peanut butter, maple syrup, melted coconut oil, and vanilla extract. Stir until everything is well mixed. The mixture should be slightly sticky and hold together when you press it.
Step 2: Press the mixture into a Baking Dish
Line a baking dish with parchment paper—this makes it so much easier to lift out the bars later. Pour the base mixture into the dish and spread it out evenly. I like to use the back of a spoon to press it down firmly. Pop it in the fridge while you move on to the chocolate topping.
Step 3: Melt the Chocolate Topping
Now comes the fun part—melting the chocolate! I usually melt mine in a heatproof bowl over a pot of simmering water, but you can also use the microwave. Just be sure to stir every 30 seconds so it doesn’t burn. Once it’s smooth and glossy, it’s ready.
Step 4: Assemble the Bars
Take the base layer out of the fridge and pour the melted chocolate over it. Spread it evenly with a spatula. If I’m feeling fancy, I’ll sprinkle some sea salt or chopped nuts on top for extra flavor.
Step 5: Chill and Slice
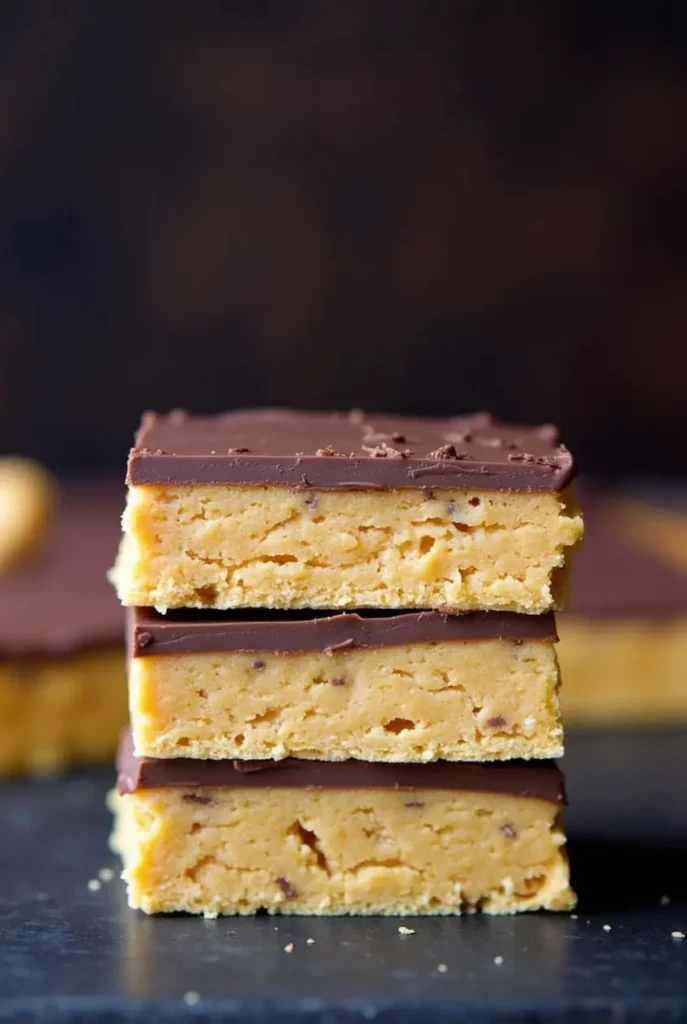
Put the dish back in the fridge and let it chill for at least 1-2 hours. Once it’s set, lift the bars out using the parchment paper and slice them into squares or rectangles. I like to keep mine on the smaller side so I don’t feel guilty about having more than one!
Tips for Perfect Vegan Chocolate Peanut Butter Bars
Over time, I’ve picked up a few tricks to make these bars turn out perfectly every time:
Use High-Quality Ingredients
It really makes a difference. The better the chocolate and peanut butter, the tastier your bars will be.
Don’t Rush the Chilling
I know it’s hard to wait, but giving the bars enough time to chill ensures they hold their shape when you slice them.
Get Creative
Don’t be afraid to add your own twist. I’ve tried adding dried fruit, chia seeds, and even a layer of homemade caramel—and they all turned out amazing.
Warm Your Knife
To get clean slices, run your knife under hot water, dry it off, and then cut through the bars. This little trick works wonders!
Variations and Substitutions
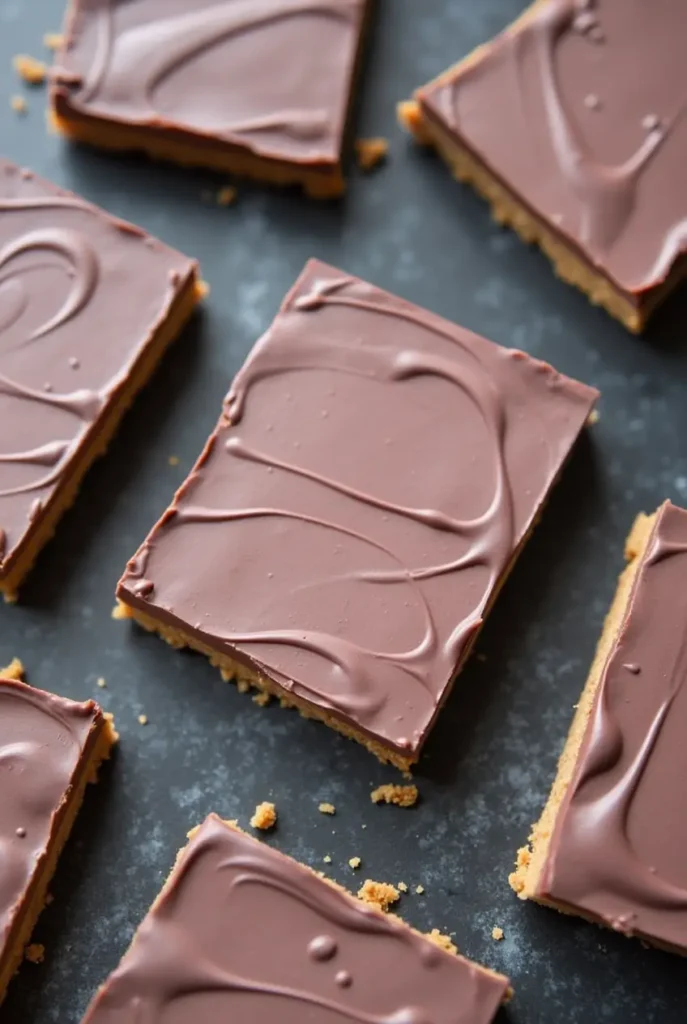
The real beauty of this recipe is how flexible it is! You can easily customize it to suit your taste—here are a few fun ideas to try:
Nut-Free Option
If you have a peanut allergy, swap the peanut butter for sunflower seed butter or tahini. They both work great!
Gluten-Free Option
Just use certified gluten-free oats, and you’re good to go.
Low-Sugar Option
You can reduce the amount of maple syrup or use a sugar-free alternative like monk fruit syrup.
Protein Boost
Sometimes, I’ll add a scoop of vegan protein powder to the base layer. It makes the bars more filling and perfect for an on-the-go snack.
How to Store and Serve Vegan Chocolate Peanut Butter Bars
Here’s how I keep my bars fresh and ready to enjoy:
Storage Tips
- Keep the bars in an airtight container in the fridge, and they’ll stay fresh and tasty for up to a week.
- If you want to keep them longer, wrap each bar in parchment paper and freeze them. They’ll last for up to 3 months this way.
Serving Suggestions
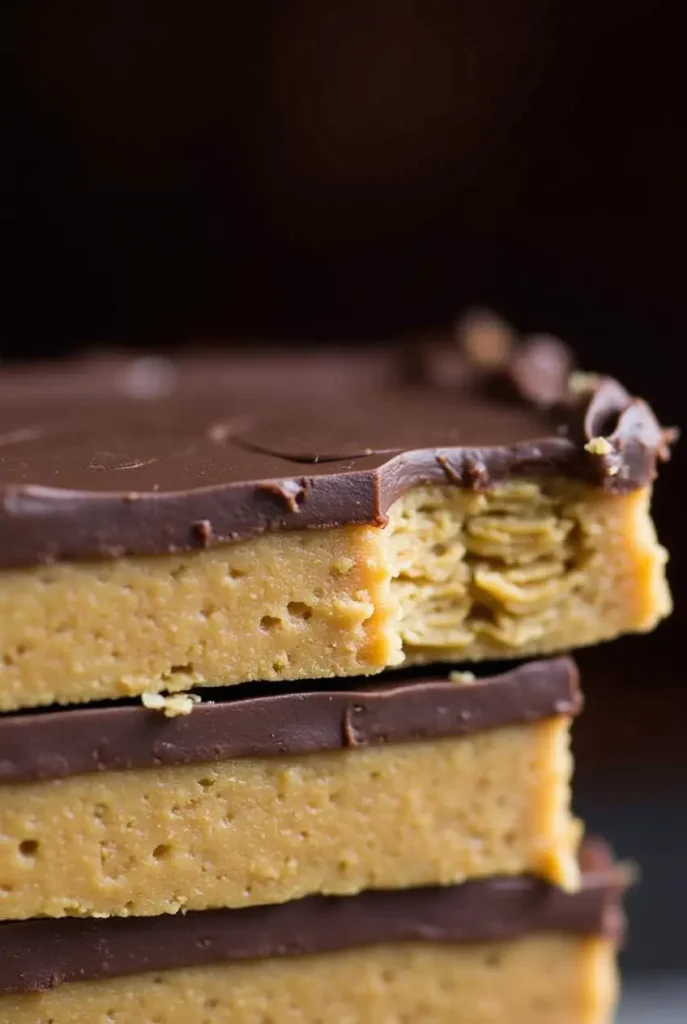
- I personally love eating these bars chilled straight from the fridge. If you prefer a softer texture, let them sit at room temperature for a few minutes before digging in.
- Pair them with a hot cup of coffee, tea, or a glass of plant-based milk for the ultimate treat.
Faq Section About Vegan Chocolate Peanut Butter Bars
Are these vegan chocolate peanut butter bars gluten-free?
Yes! Just make sure to use certified gluten-free oats, and you’re all set.
Is it possible to substitute almond butter for peanut butter in this recipe?
Absolutely. Almond butter works just as well and gives the bars a slightly different flavor.
What’s the shelf life of these bars when stored in the fridge?
Stored in an airtight container, they’ll remain fresh for up to a week.
Can I make these bars without coconut oil?
Yes, you can use a neutral-tasting oil like avocado oil, or if your peanut butter is runny enough, you might not need any oil at all.
Can I add other toppings to the bars?
Of course! Shredded coconut, crushed nuts, or even a drizzle of vegan caramel would be amazing.
Conclusion For Vegan Chocolate Peanut Butter Bars
There you have it—my favorite recipe for vegan chocolate peanut butter bars! These bars are a lifesaver when you need something quick, sweet, and satisfying. I hope you give these a try and love them as much as I do! Feel free to get inventive and put your own spin on it! Whether you stick to the classic version or add your own twist, you can’t go wrong with this recipe.
Want more Bars recipes?
- Vegan Chocolate Matcha
- Vegan Pumpkin Cake Bars
- Vegan Sugar Cookie Bars
- Lavender Lemon Bars
- Salted Caramel Apple Bars
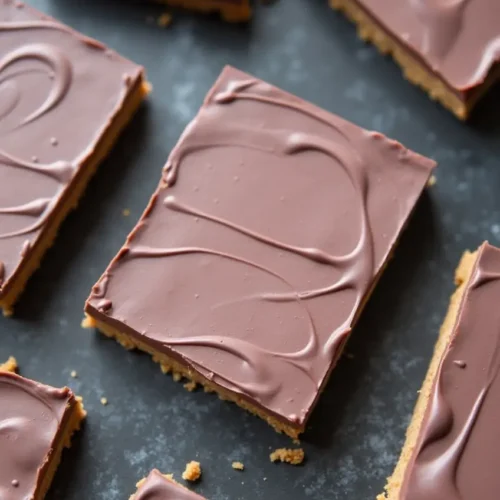
Vegan Chocolate Peanut Butter Bars
Ingredients
For the Base Layer:
- 1 ½ cups rolled oats use gluten-free if needed
- ¾ cup natural creamy peanut butter
- ⅓ cup maple syrup or agave syrup
- 2 tbsp melted coconut oil
- 1 tsp vanilla extract
For the Chocolate Topping:
- 1 cup vegan dark chocolate chips or chopped dark chocolate
- 1 tbsp coconut oil optional, for a smoother topping
- Optional toppings: sea salt flakes chopped nuts, or shredded coconut
Instructions
- In a spacious mixing bowl, blend together the rolled oats, peanut butter, maple syrup, melted coconut oil, and vanilla extract. Mix well until everything is fully combined and the mixture holds together when pressed.
- Line an 8×8-inch baking dish with parchment paper. Transfer the base mixture into the dish and spread it out evenly with a spatula or your hands. Press it down firmly to form a solid, compact layer. Place the dish in the refrigerator to chill while you prepare the chocolate topping.
- In a heatproof bowl, melt the vegan chocolate and coconut oil over a double boiler or in the microwave (in 30-second intervals, stirring in between) until smooth and fully melted.
- Remove the baking dish from the refrigerator and pour the melted chocolate over the base layer. Spread it evenly with a spatula. If desired, sprinkle sea salt flakes, chopped nuts, or shredded coconut on top for added texture and flavor.
- Return the dish to the refrigerator and let it chill for at least 1 hour, or until the chocolate is completely set. Once firm, lift the parchment paper out of the dish and place it on a cutting board.
- With a sharp knife, cut the chilled mixture into 12 even bars. Serve immediately or store for later.
Notes
- For a nut-free option, substitute peanut butter with sunflower seed butter or tahini.
- To make this recipe gluten-free, be sure to use certified gluten-free oats.
- Store the bars in an airtight container in the refrigerator for up to 7 days or freeze for up to 3 months.
- Let the bars sit at room temperature for a few minutes before serving if you prefer a softer texture.
